VMware recently released Photon OS – Tech Preview 2. You can find it here, along with some of their other open-source initiatives. This post is intends to (hopefully) introduce folks to Photon and demonstrate how easy it is to use as part of a larger solution.
Photon OS is an RPM-based Linux distribution built expressly to support containers and container-cluster frameworks, like Kubernetes and Mesos, and optimized to run on vSphere. Support for Docker, Rocket, and Pivotal Garden are built right into Photon OS, though only the binaries for Docker are included by default. What’s more, with the release of Tech Preview 2, the binaries for Kubernets and Mesos are built-in as well, making working with your favorite cluster resource scheduler easier than ever. You can read more about Photon OS here.
One thing to note, however, is that when you first install Photon OS, you have a choice of installation types – Micro, Minimal, Full, and something else named OS Tree, which I won’t go into now. The difference(s) between Micro, Minimal and Full are – as one would expect – in the packages and binaries that are included with each installation. For example, if I install a “minimal installation of Photon, take a look at the output of a couple of “list” commands in the console:

You can see that for a minimal installation, Docker is included… Now compare this to a “Full” installation:
 You can see above that not only is Docker included, but the binaries for both Kubernetes and Mesos are as well! (It should be noted I am using an updated build of Photon TP2 that includes support for Mesos 0.23 – many thanks to Chris Mutchler for the elbow grease in building the ISO – you can read more about it here:
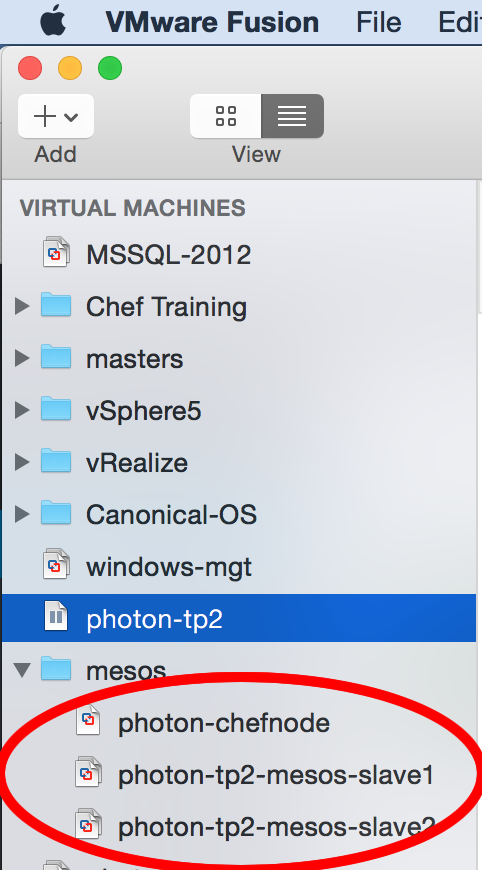 Let’s see how easy it is… after I install Photon OS in a vm in VMware Fusion, I simply create a couple of additional virtual machines in Fusion through Linked Clones, and issue the appropriate commands to spin up the master and a couple of slave nodes.
After enabling SSH in the master VM (you just have to edit /etc/ssh/sshd_config), and establishing the IP address of each vm, it’s simple.
The commands are relatively straightforward:
- Master node:/bin/mesos master –ip=LOCALIP –work_dir=/var/lib/mesos –cluster=CLUSTERNAME
- Slave node: /var/bin/mesos slave –ip=LOCALIP –master=MASTERIP:5050

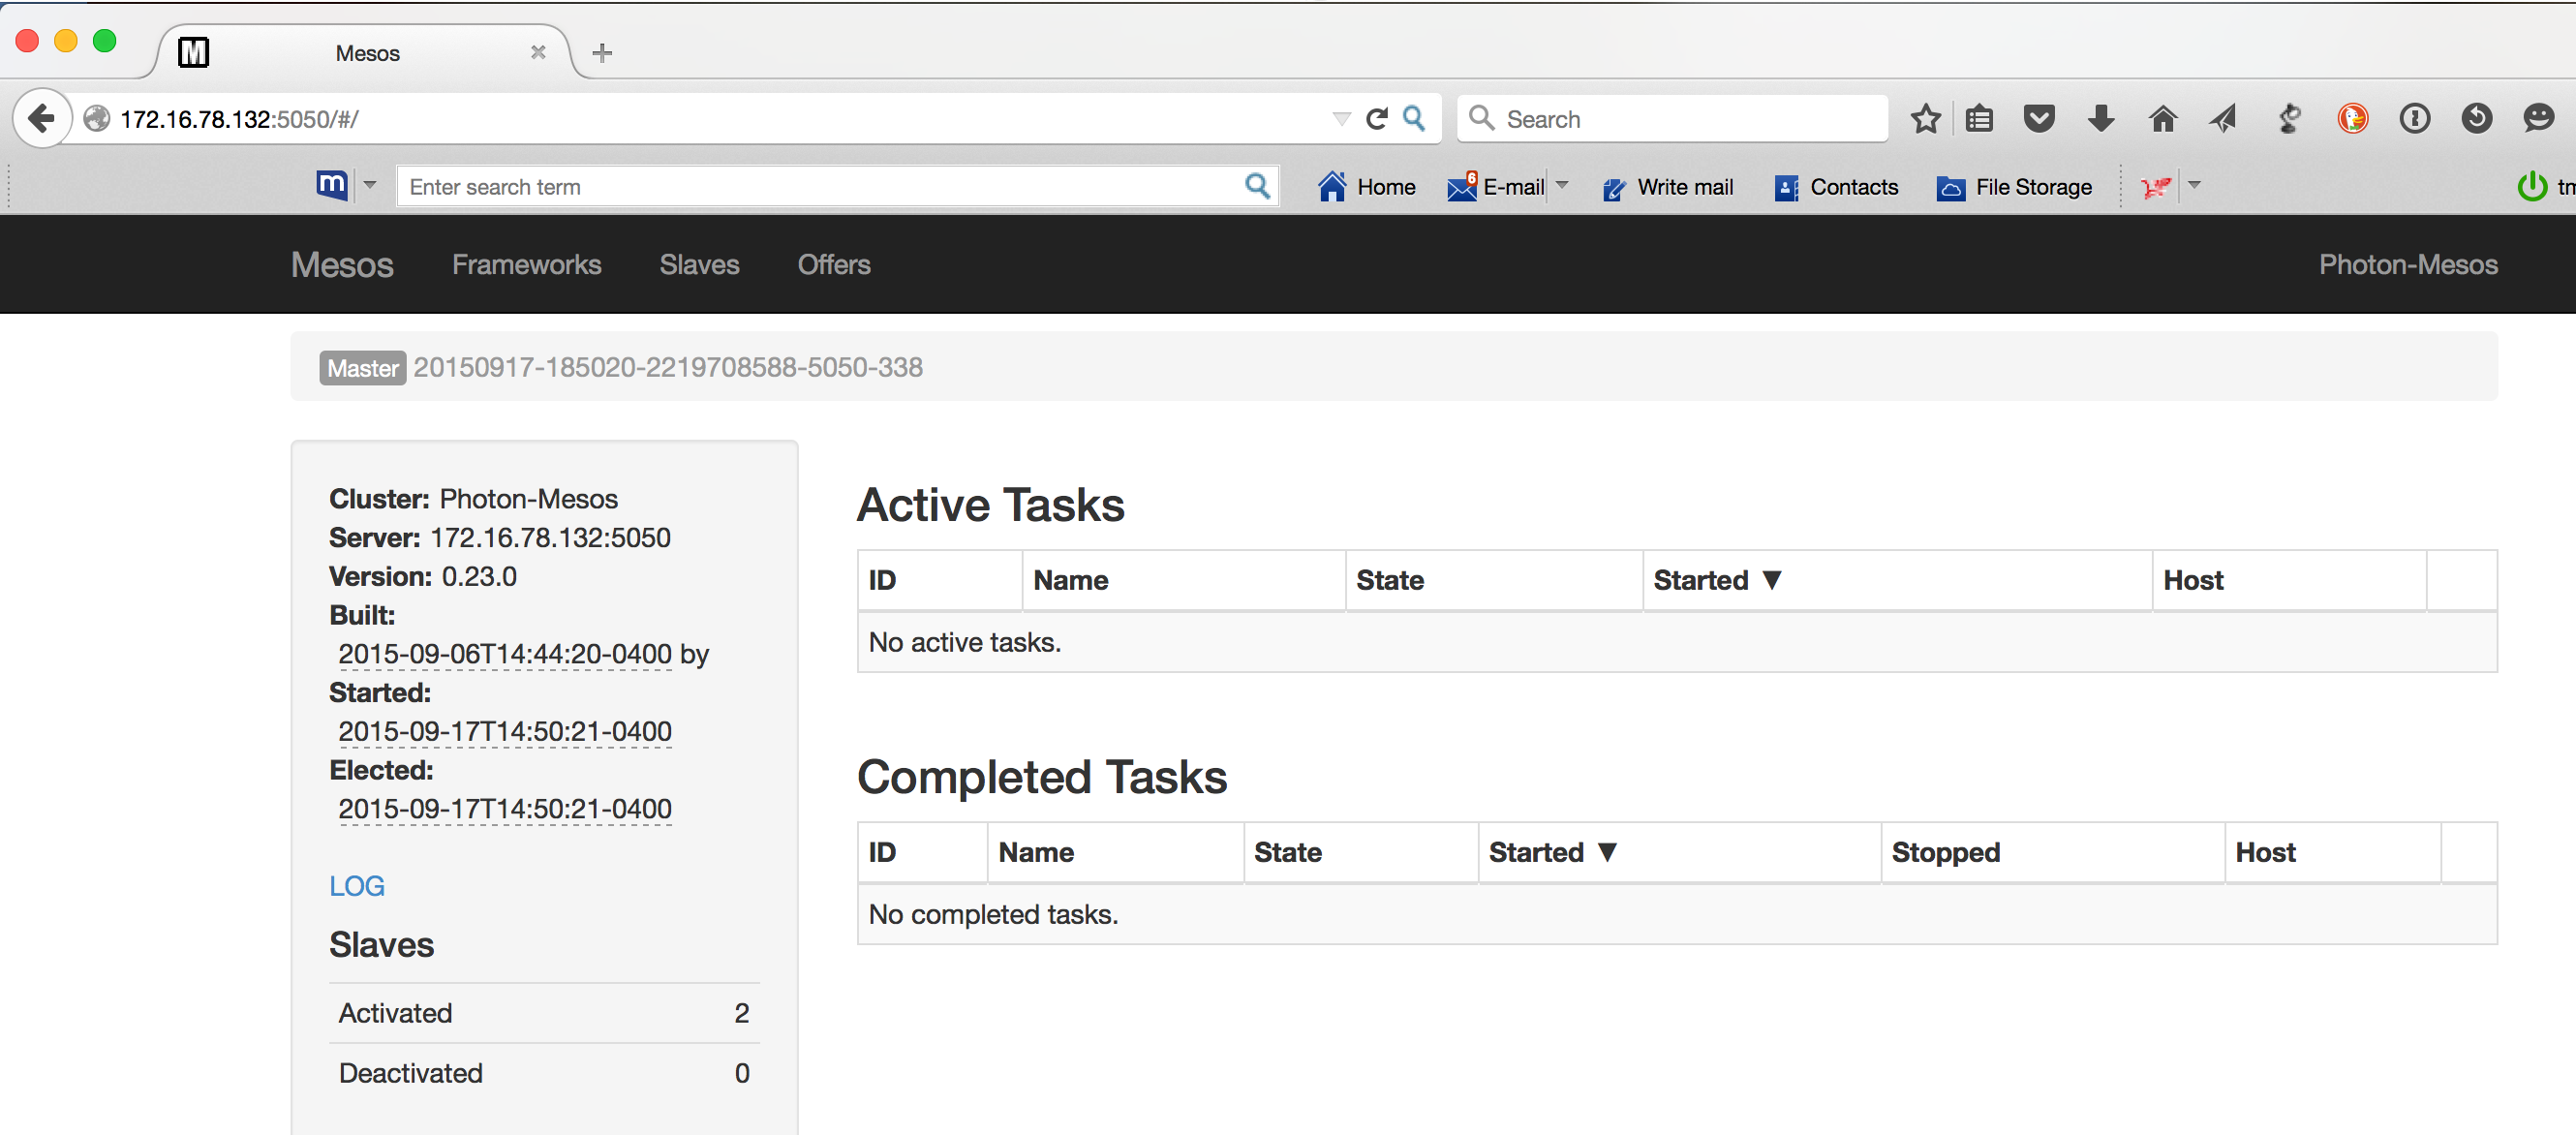
Once that is done, you should be able to open a browser to the Mesos web page, located at the Master IP:PORT specified in your command above:
I should mention that my esteemed colleague, Chris Mutchler, has already done a great deal of work putting this into production with a robust implementation leveraging vSphere and Big Data Extensions, which you can read about here:
That’s all for now! In a future post, I will be working on integrating Photon as part of a larger solution.
