
Introduction
OK – so even though this was first actually announced in November of 2023, I hadn’t actually joined Docker yet, so this is MY first look at the service! You can now not only sign up for a Docker Business Subscription through the Azure Marketplace, you can also deploy Azure Dev Box instances with Docker Desktop pre-installed and configured for you!
This the result of a great collaboration between Docker and Microsoft in an effort to build and deliver a VDI service purpose-built to enhance developer productivity. Leveraging this offering means you don’t have to worry about onboarding your team members and going through the (sometimes) painful process of installing and configuring all the necessary development tools they will need. Microsoft Dev Box comes preinstalled with best-in-class dev tools such as Visual Studio, VS Code, and GitHub Copilot.
So, what is a Dev Box? According to Microsoft, “Microsoft Dev Box gives developers self-service access to ready-to-code cloud workstations called dev boxes. You can configure dev boxes with tools, source code, and prebuilt binaries that are specific to a project, so developers can immediately start work.” Even better – Dev Box is available through the Azure Marketplace for easy self-service – and can include Docker Desktop!!! A developer (or an admin) can set up multiple Dev Boxes for developers to meet the needs of different projects and environments, eliminating the need for long and frustrating onboarding experiences for new developers. See the following links for additional information:
In this post, we will take a first look at what it takes to spin up an instance of Docker Desktop in Microsoft Dev Box – there are a couple of ‘gotchas’ that might trip you up if you are aware, but I will highlight those as we go along.
Creating your Dev Box

First, log into the Azure Portal and go to the Marketplace. Simply do a quick search on “Docker.” Be sure to select the one labeled “Docker Desktop Dev Box Compatible,” listed from “Docker, Inc.” Click the tile to open it.
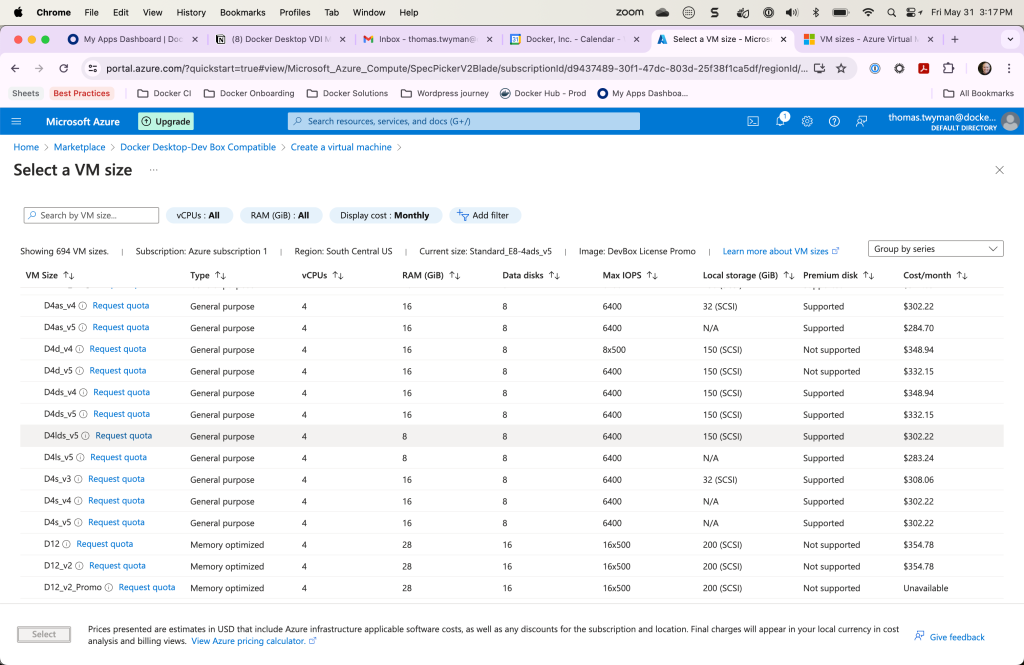
When you create a virtual machine in Azure, you have your choice of many different types – but Docker Desktop requires virtualization to be enabled in the VM so we can work our magic and create all those lovely containers. According to Microsoft, however, only certain VM types and sizes have exposed CPU virtualization instructions to the VM. Specifically, at the time of this writing, the Dx_v3 and Ex_v3 or higher models.

Once you have selected the tile for the “Docker Desktop Dev Box Compatible” offering, you have a choice to click either the “Create” button or one labeled “Start with a pre-set configuration.” For my purposes, I selected the latter, which provides a subset of choices. You may choose between a “Dev/Test” environment, or a “Production” environment – which “simply “High Availability” and Azure Backup… and is also more expensive.

Importantly, however, you will also note that the VM types / sizes listed only include 1 option that supports the necessary virtualization feature set – the “Memory Optimized” option. Neither the “General Purpose” nor the “Compute Optimized” options have the correct VM type as an option. Your other option, of course, is to choose the “Create” button, rather than the button labeled “Start with a pre-set configuration.” The only problem there is you then have a LOT of options, and you must choose wisely to ensure you are selecting the correct VM type and size – otherwise virtualization will not be enabled.
Once you have made your selection, move on to the next screen. Here you fill out all the details of your deployment, including your subscription, resource group, and so on. Note however, that this screen also contains another “gotcha” – the “Security Type:” – Standard, Trusted Launch Virtual Machines, and “Confidential Virtual Machines” (Learn more about Trusted launch virtual machine and Confidential virtual machine). You must choose “Standard” to allow the nested virtualization capabilities to be exposed to the virtual machine… See Azure Trusted Launch doesn’t support nested virtualization to learn more.

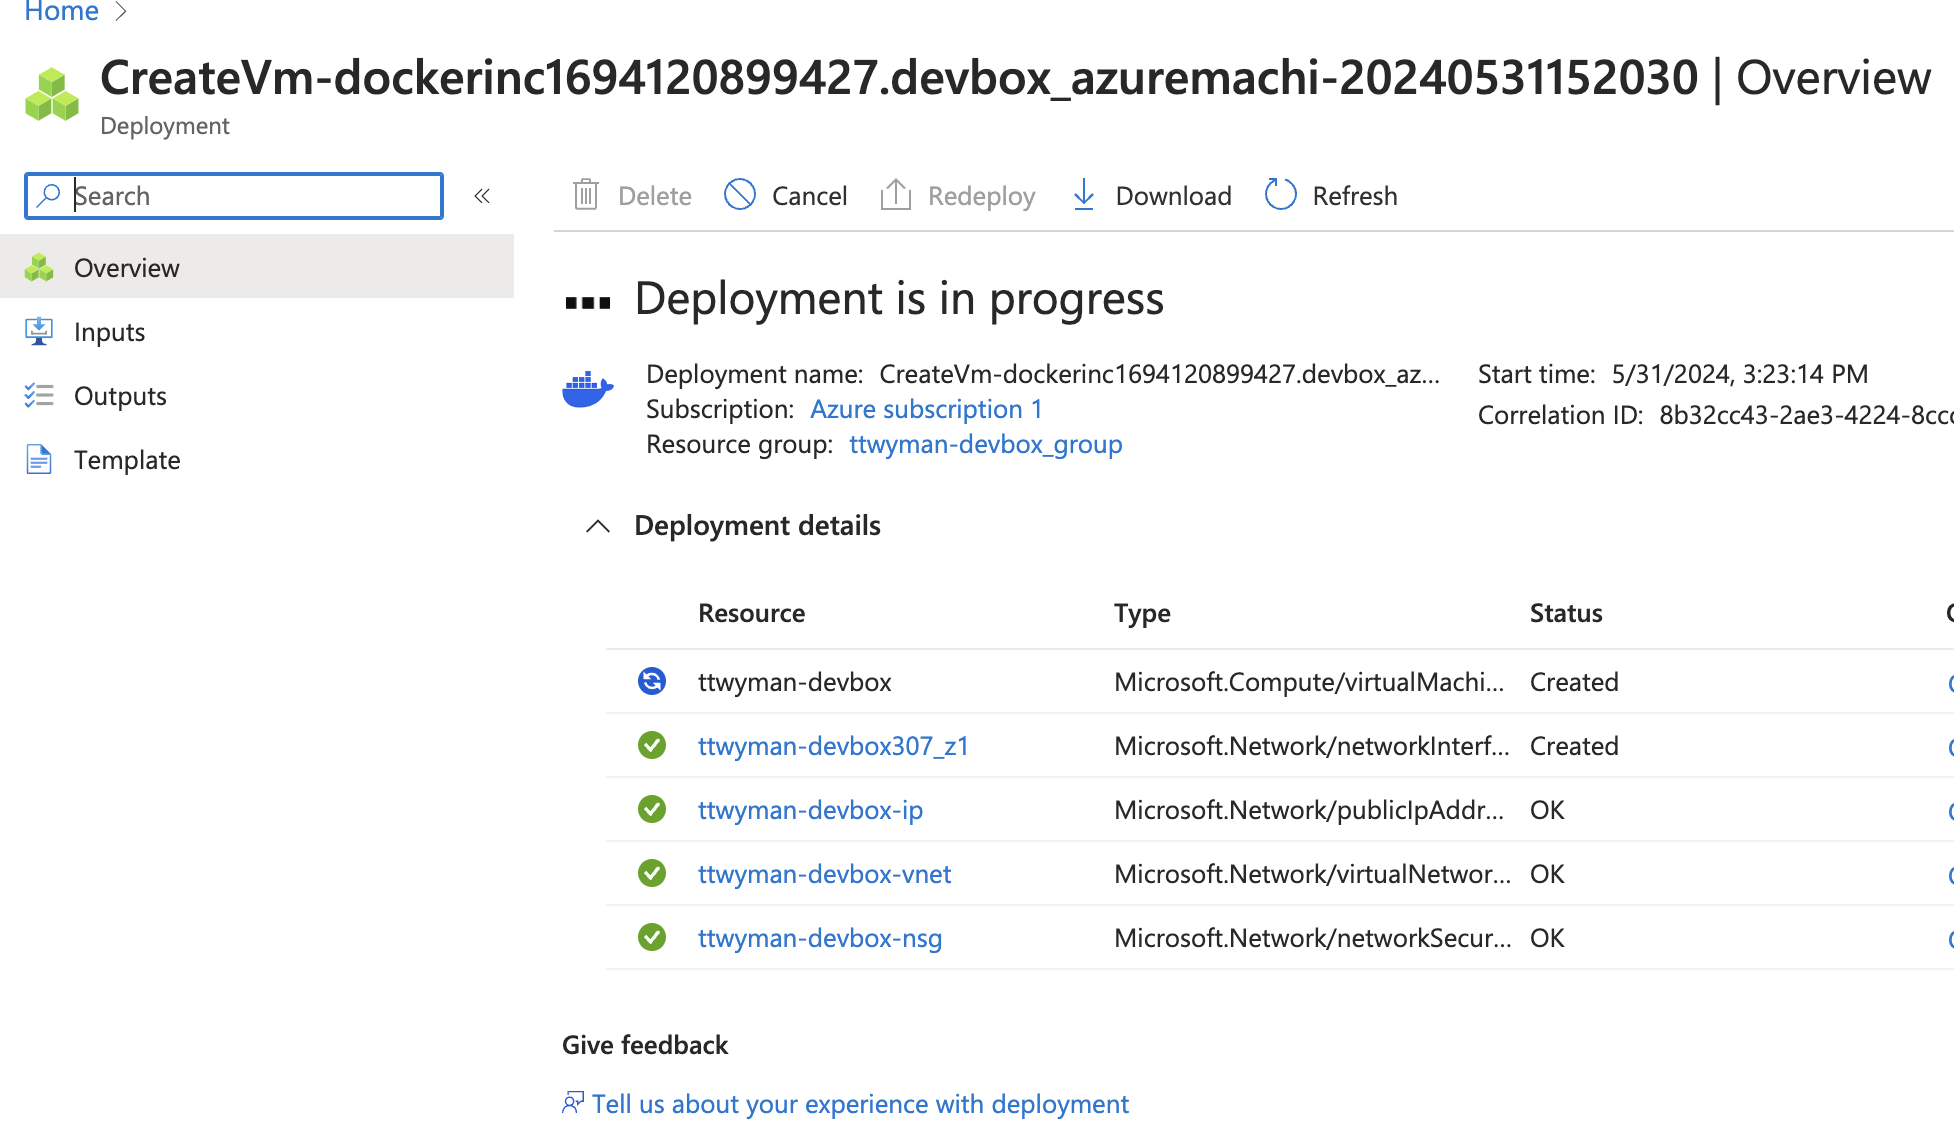
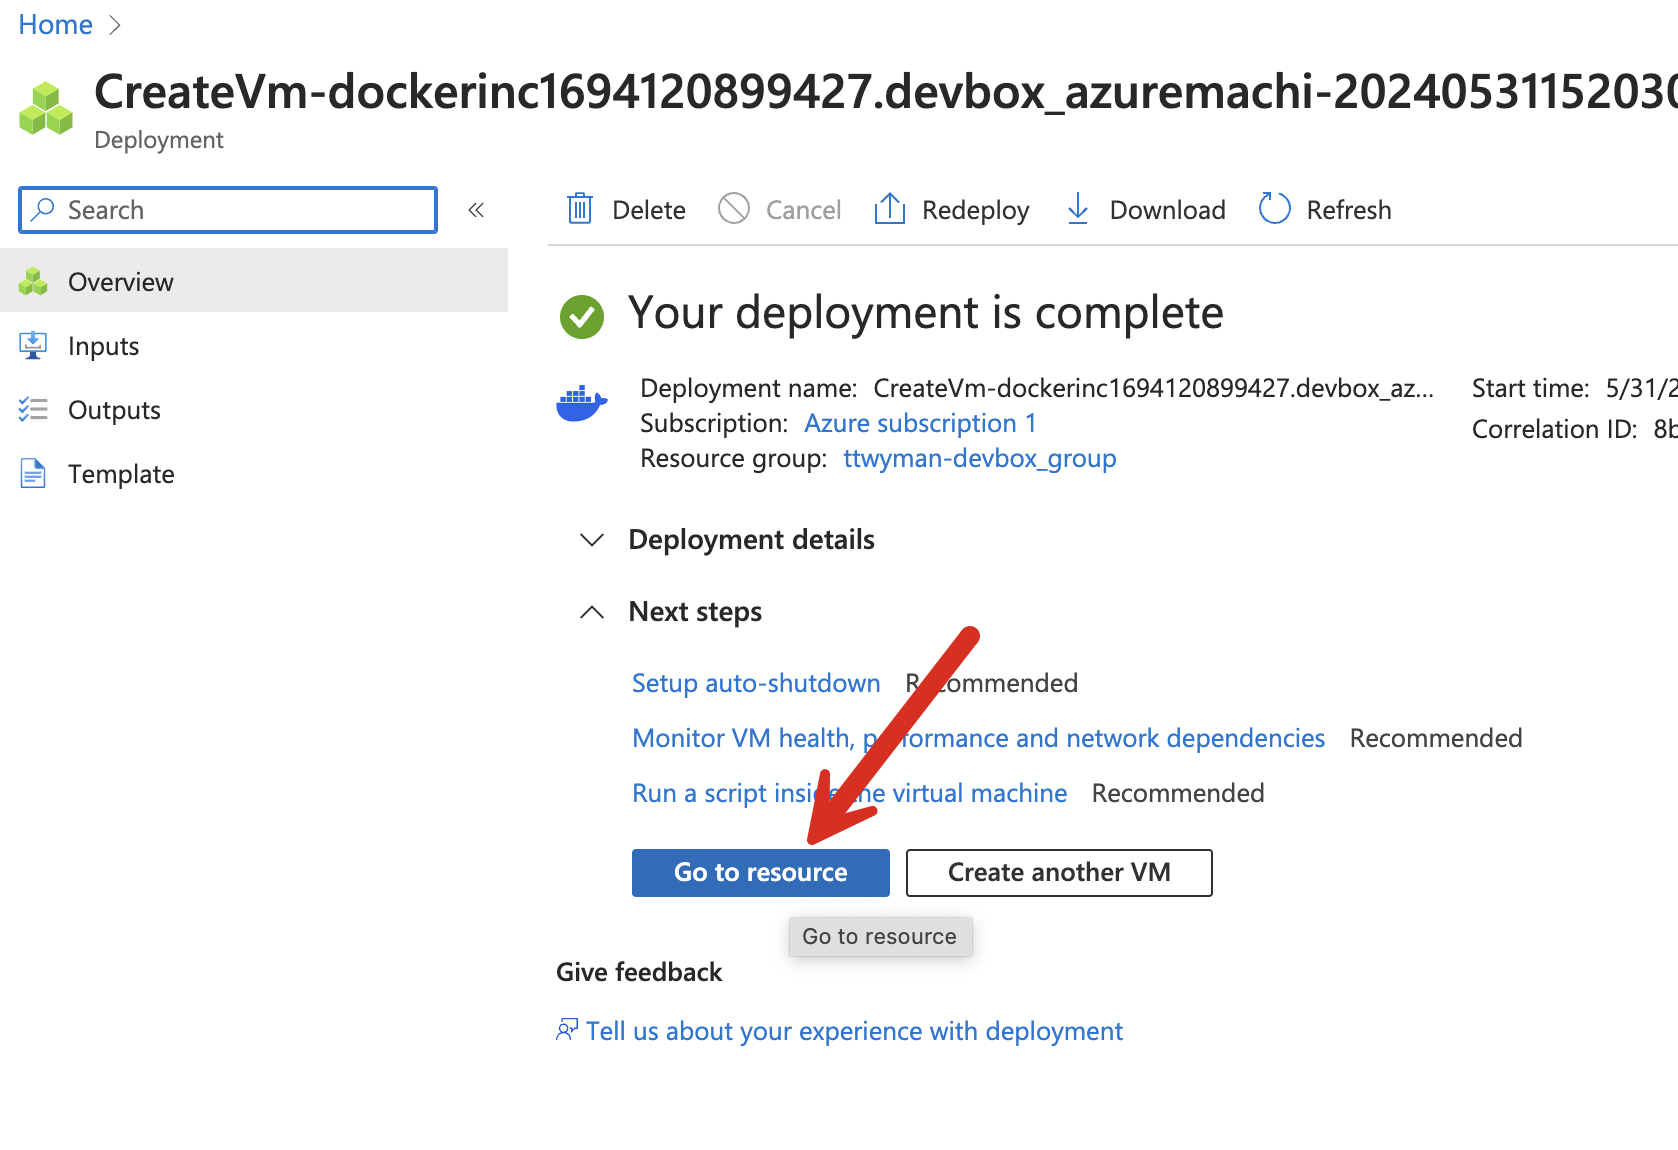
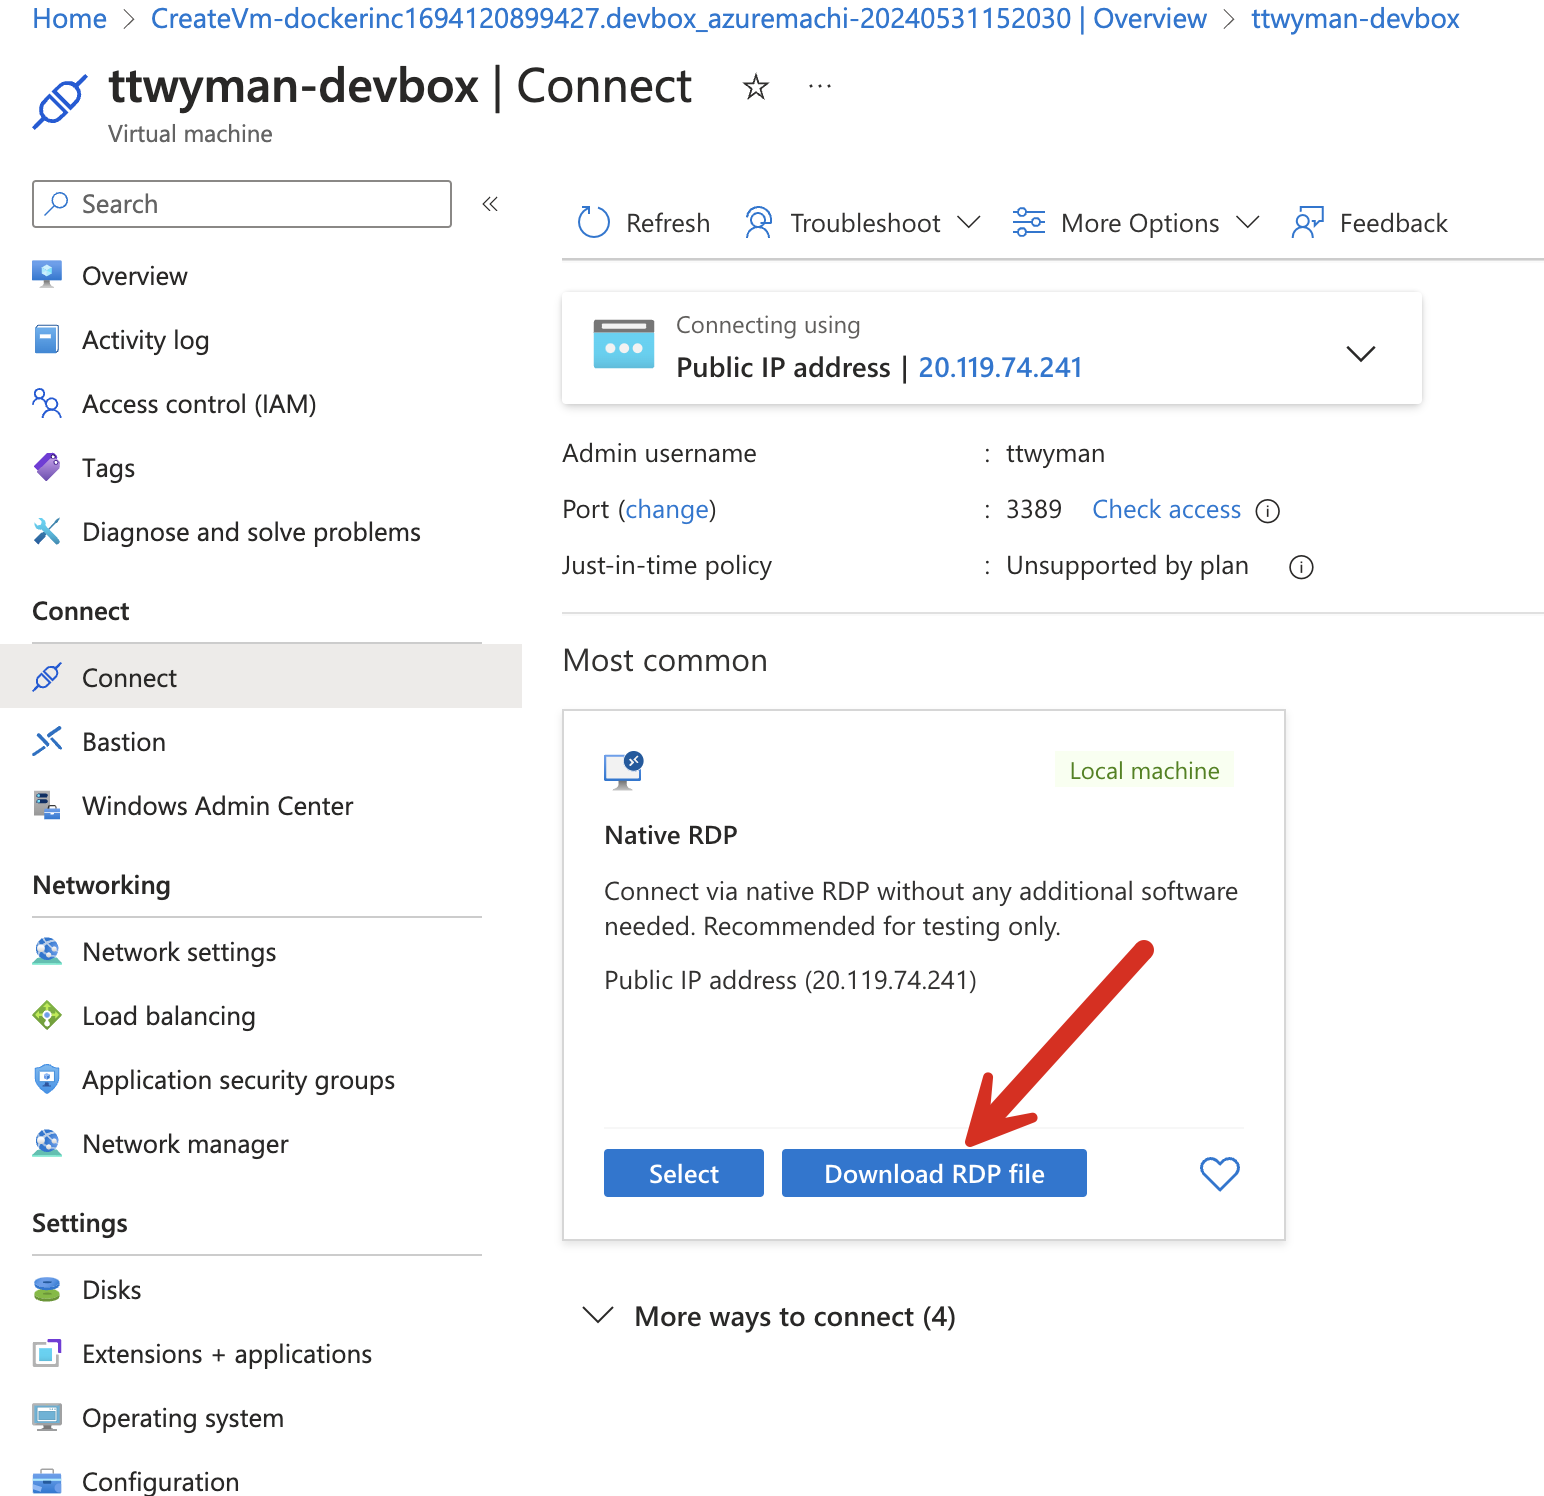
You are ready to go – click “Review and Create” – unless of course you wish to further customize the virtual machine with specific configurations for disk size, memory, networking, etc. By default, port 3389 for RDP will be exposed, and a public IP address will be assigned for you to be able to remote into the Dev Box. Your organization, of course, will likely have more secure connectivity methods approved for production.
Connecting to your Dev Box
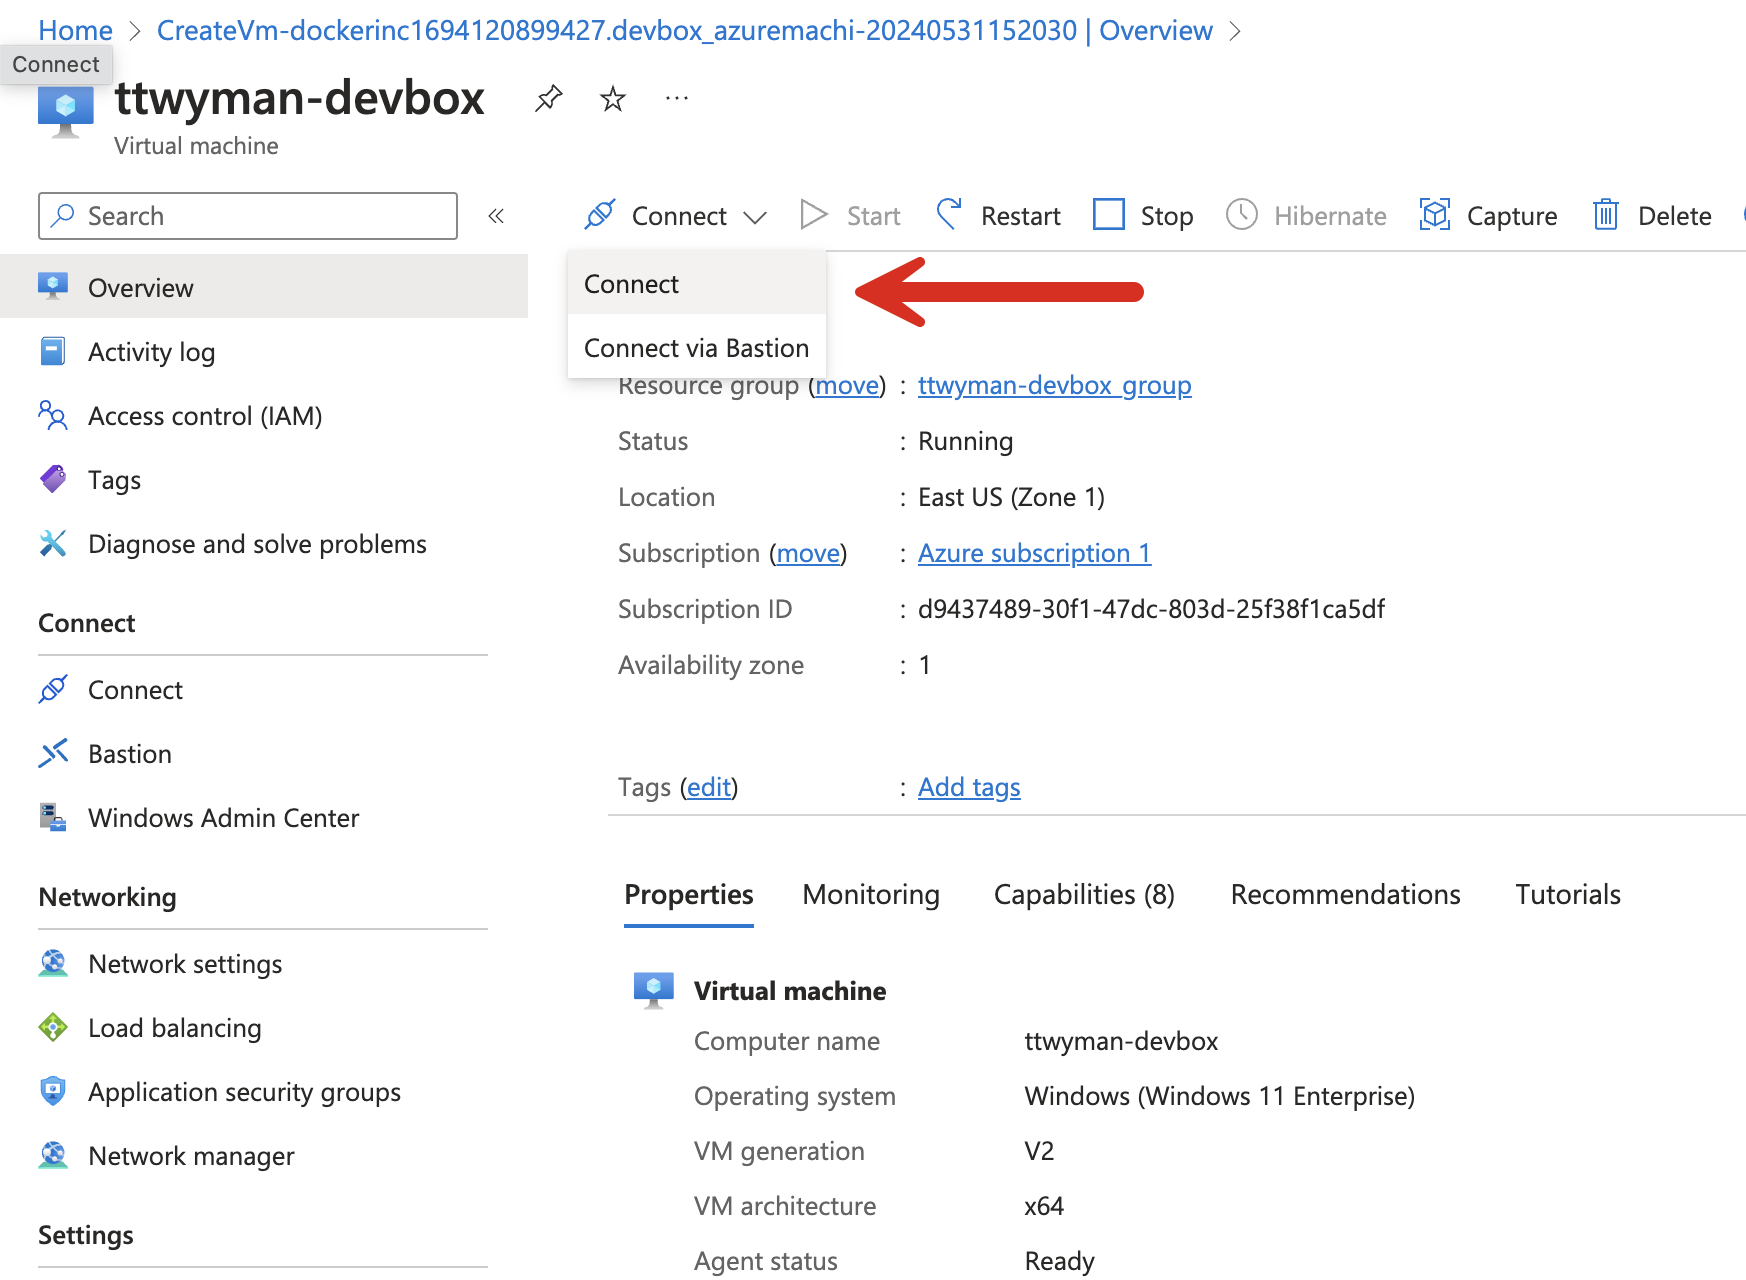
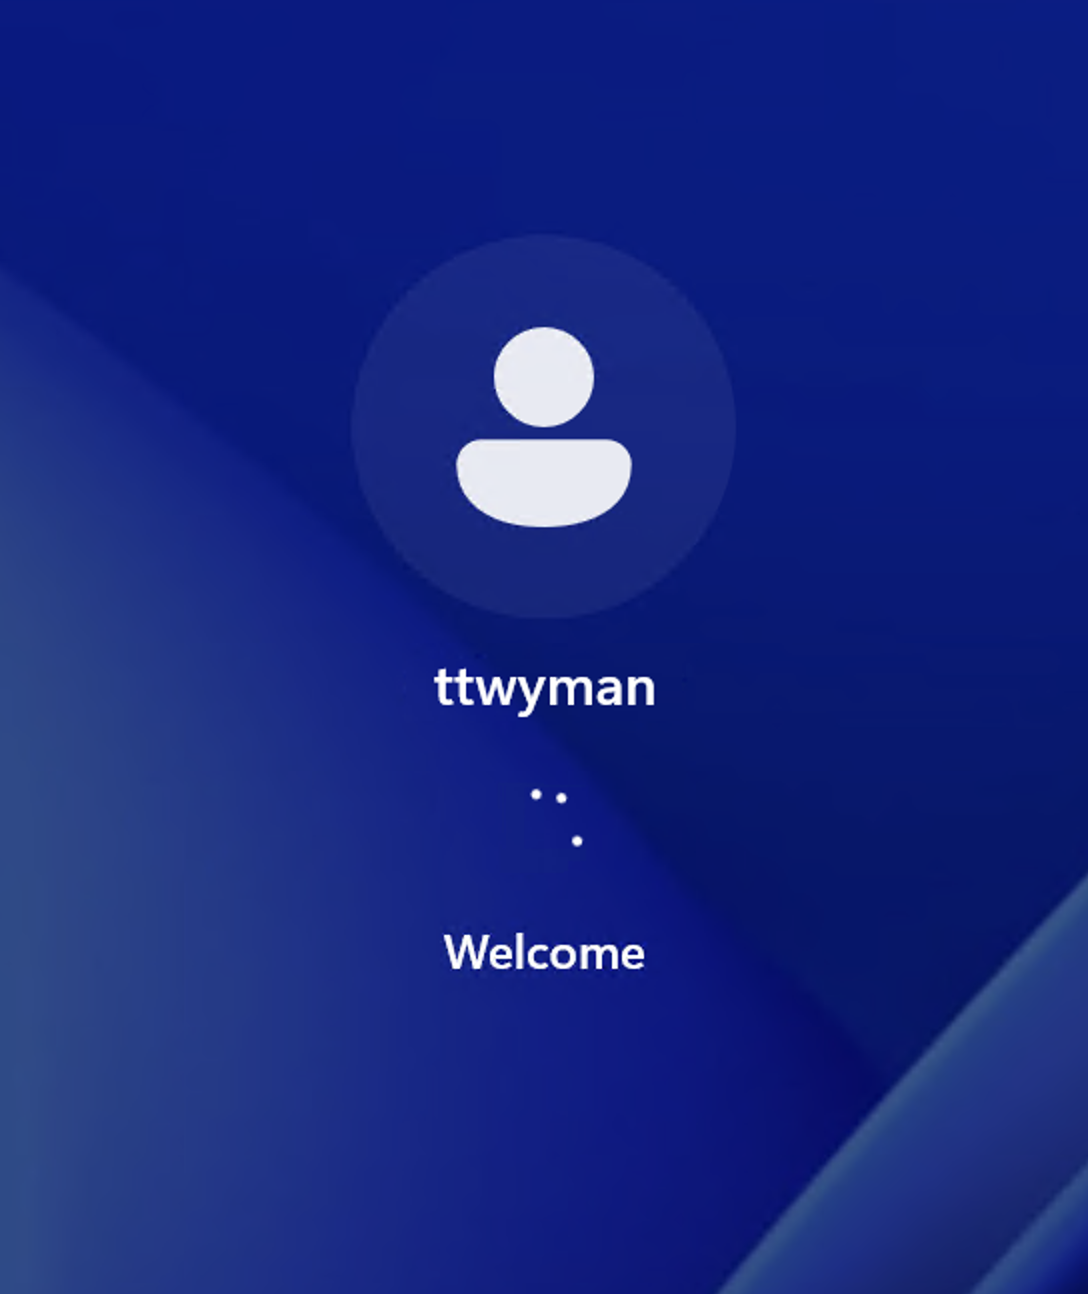
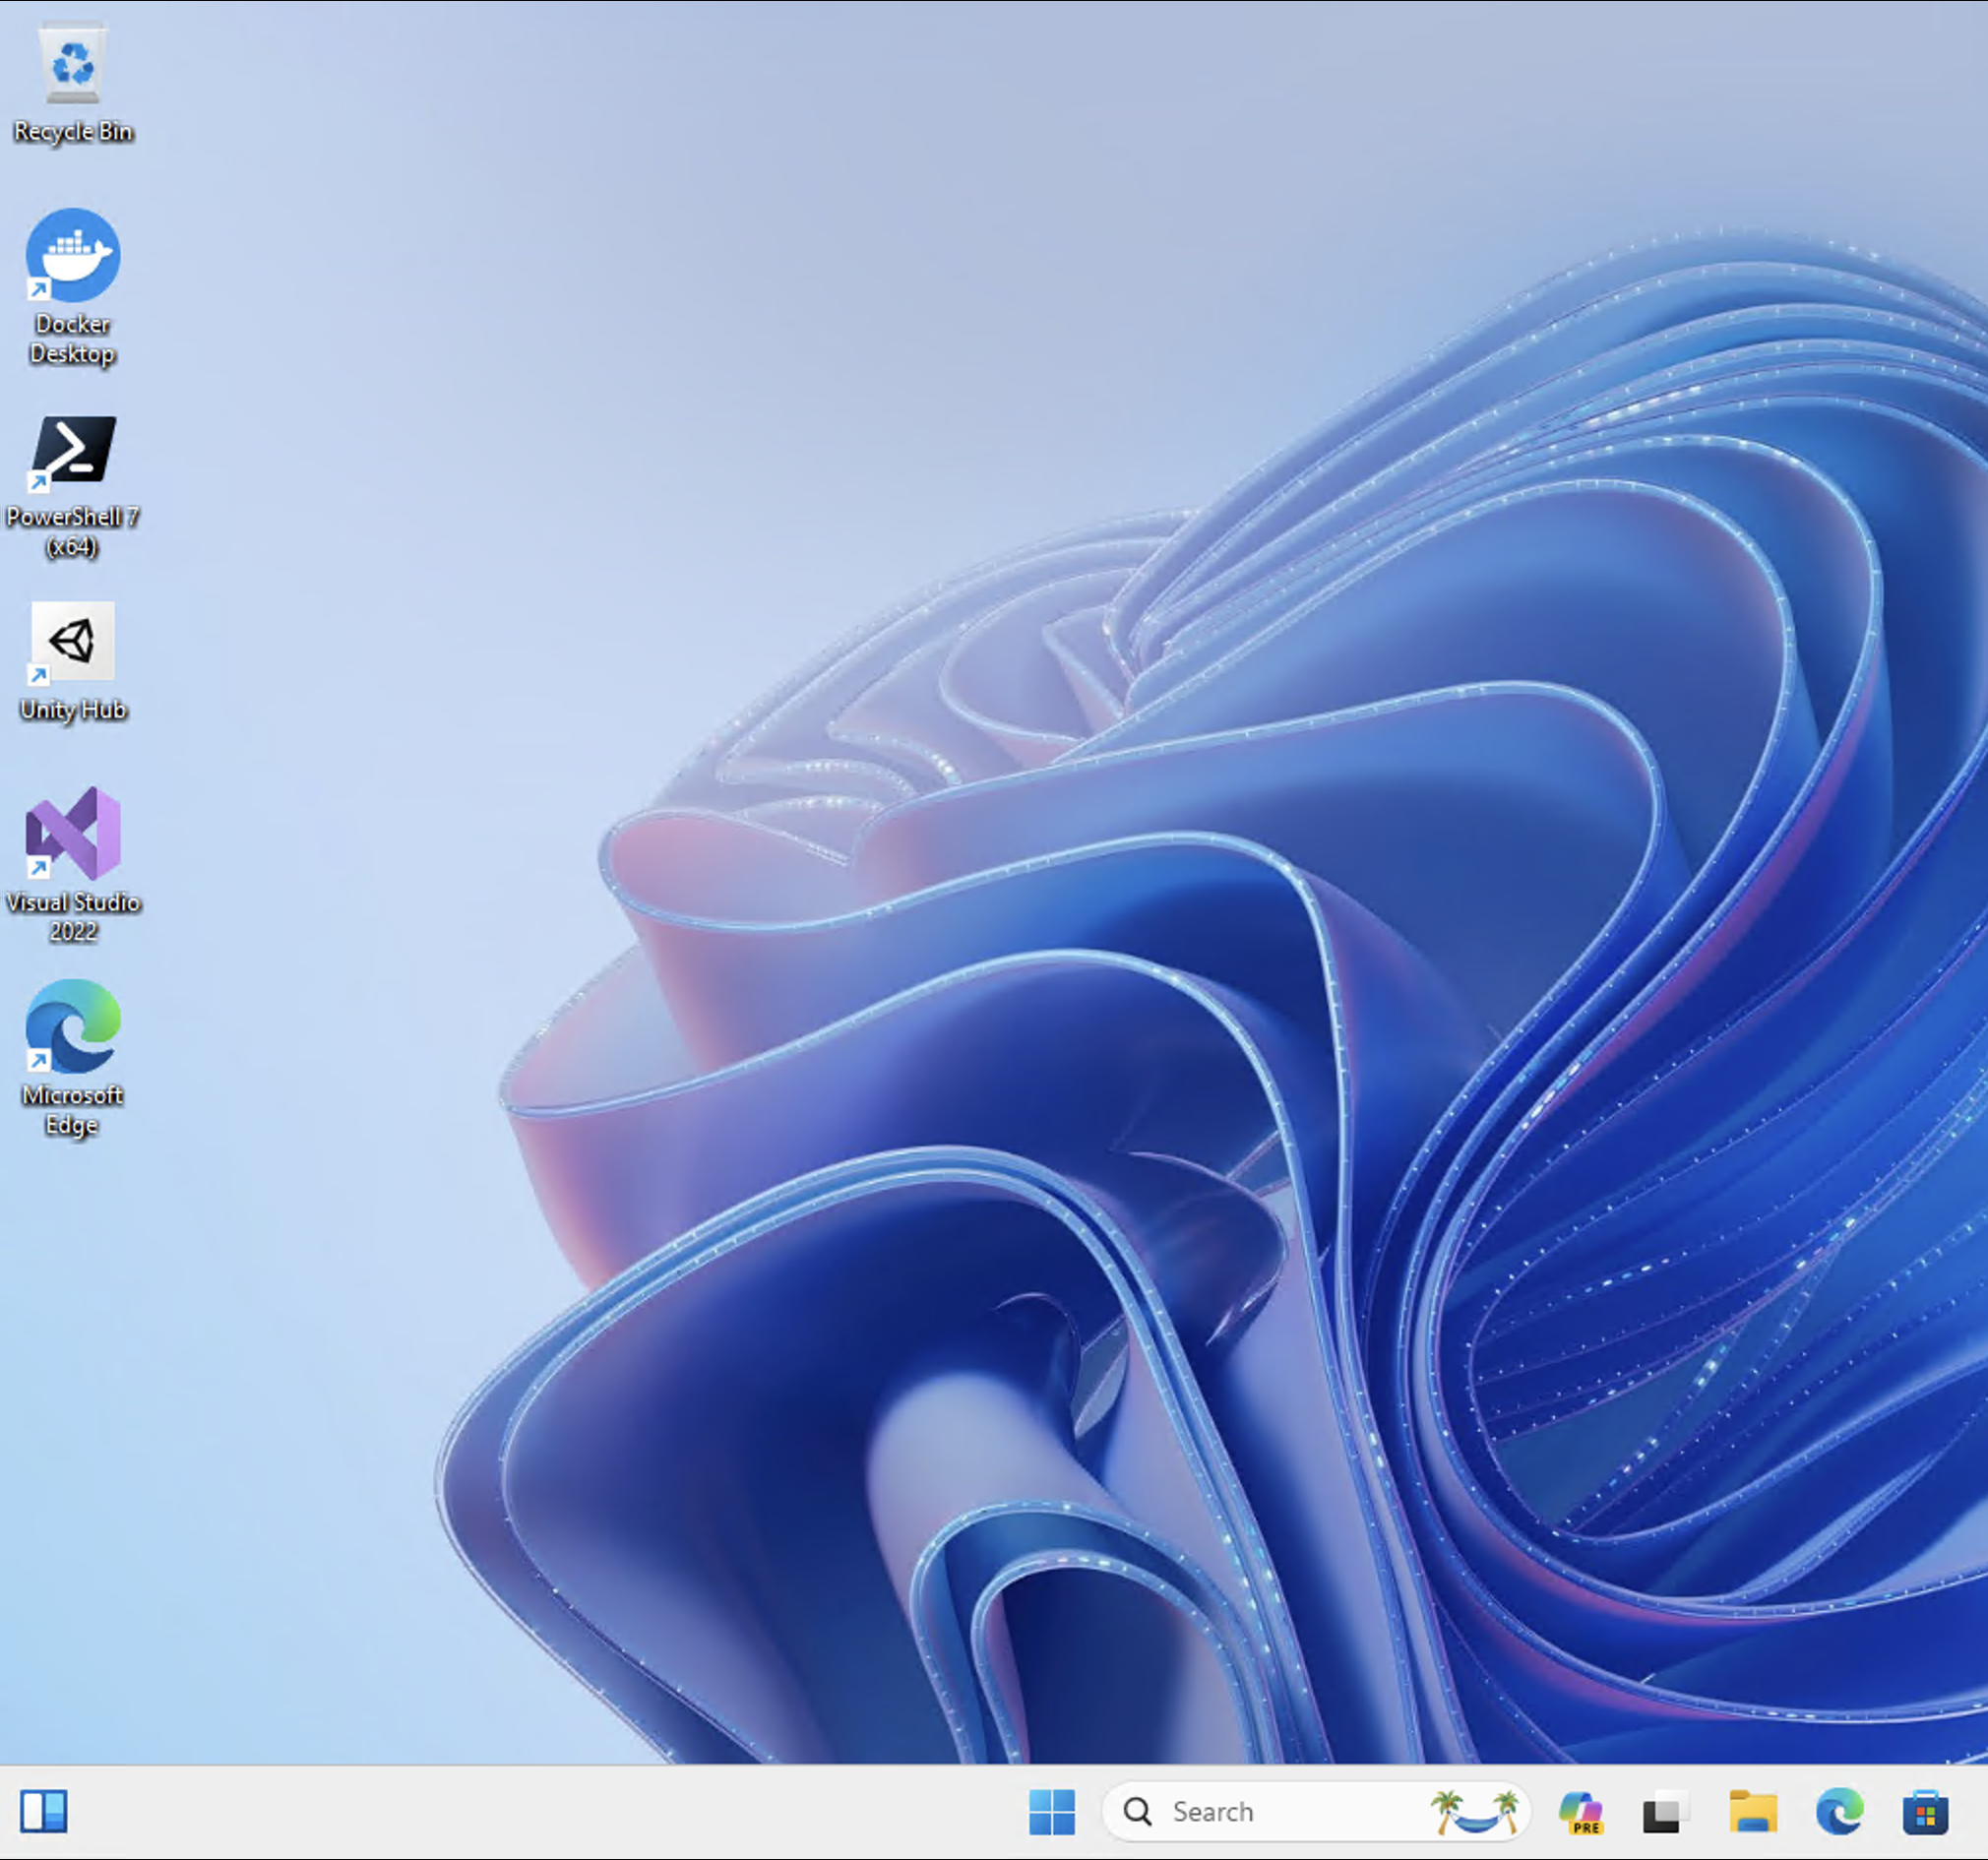
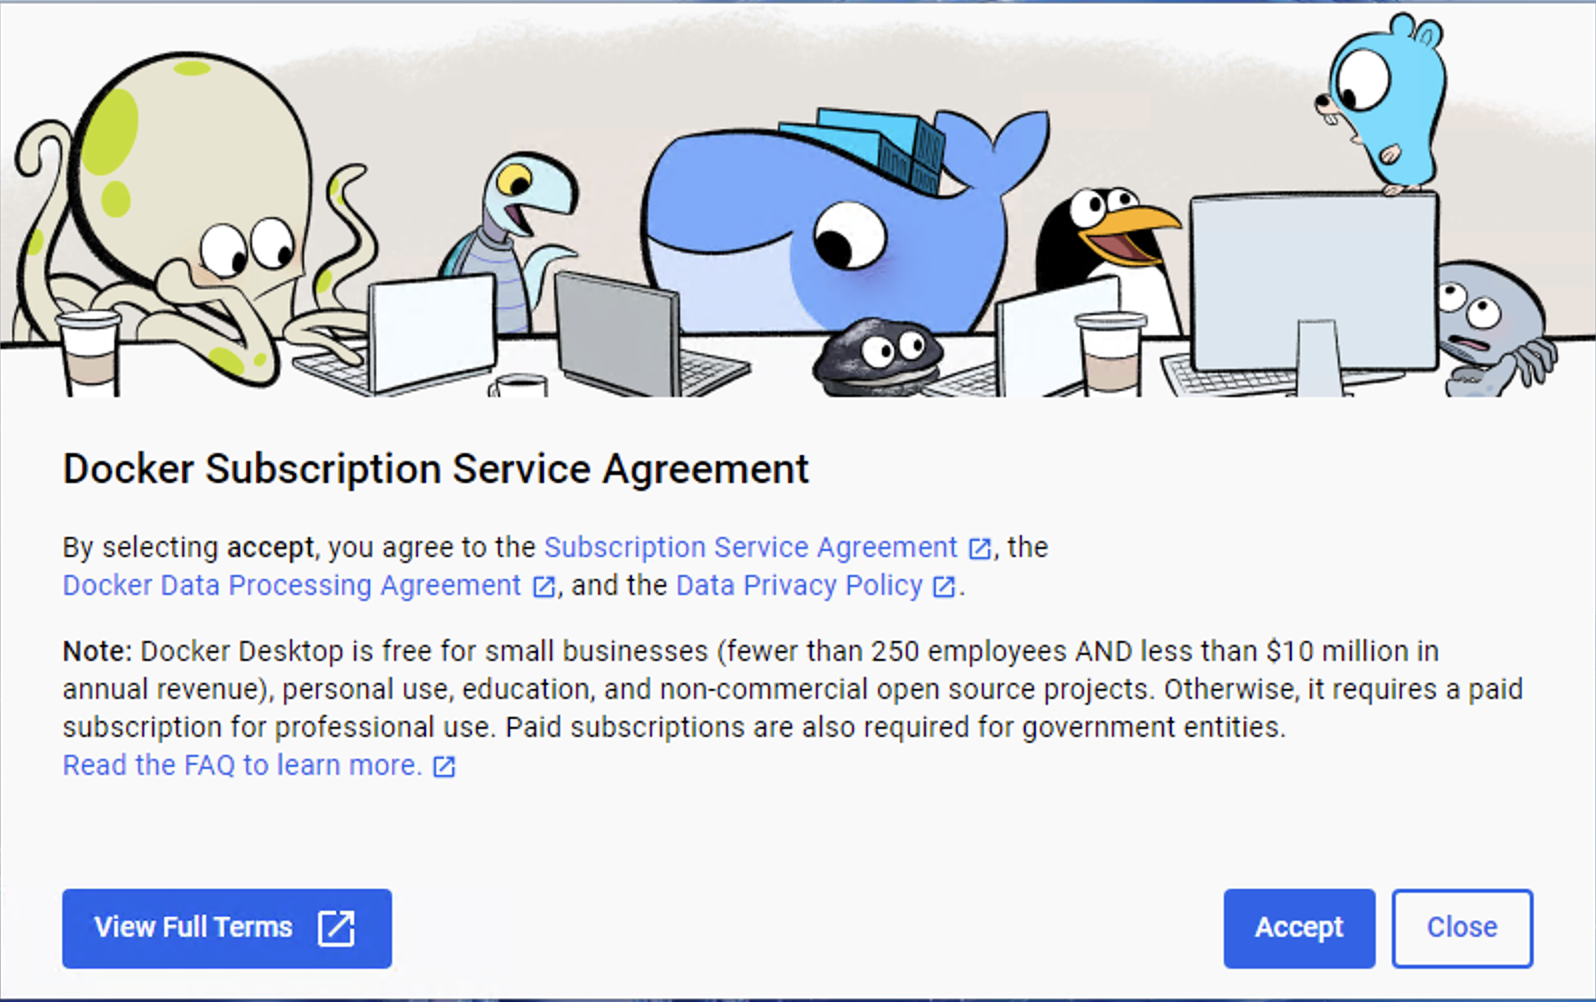
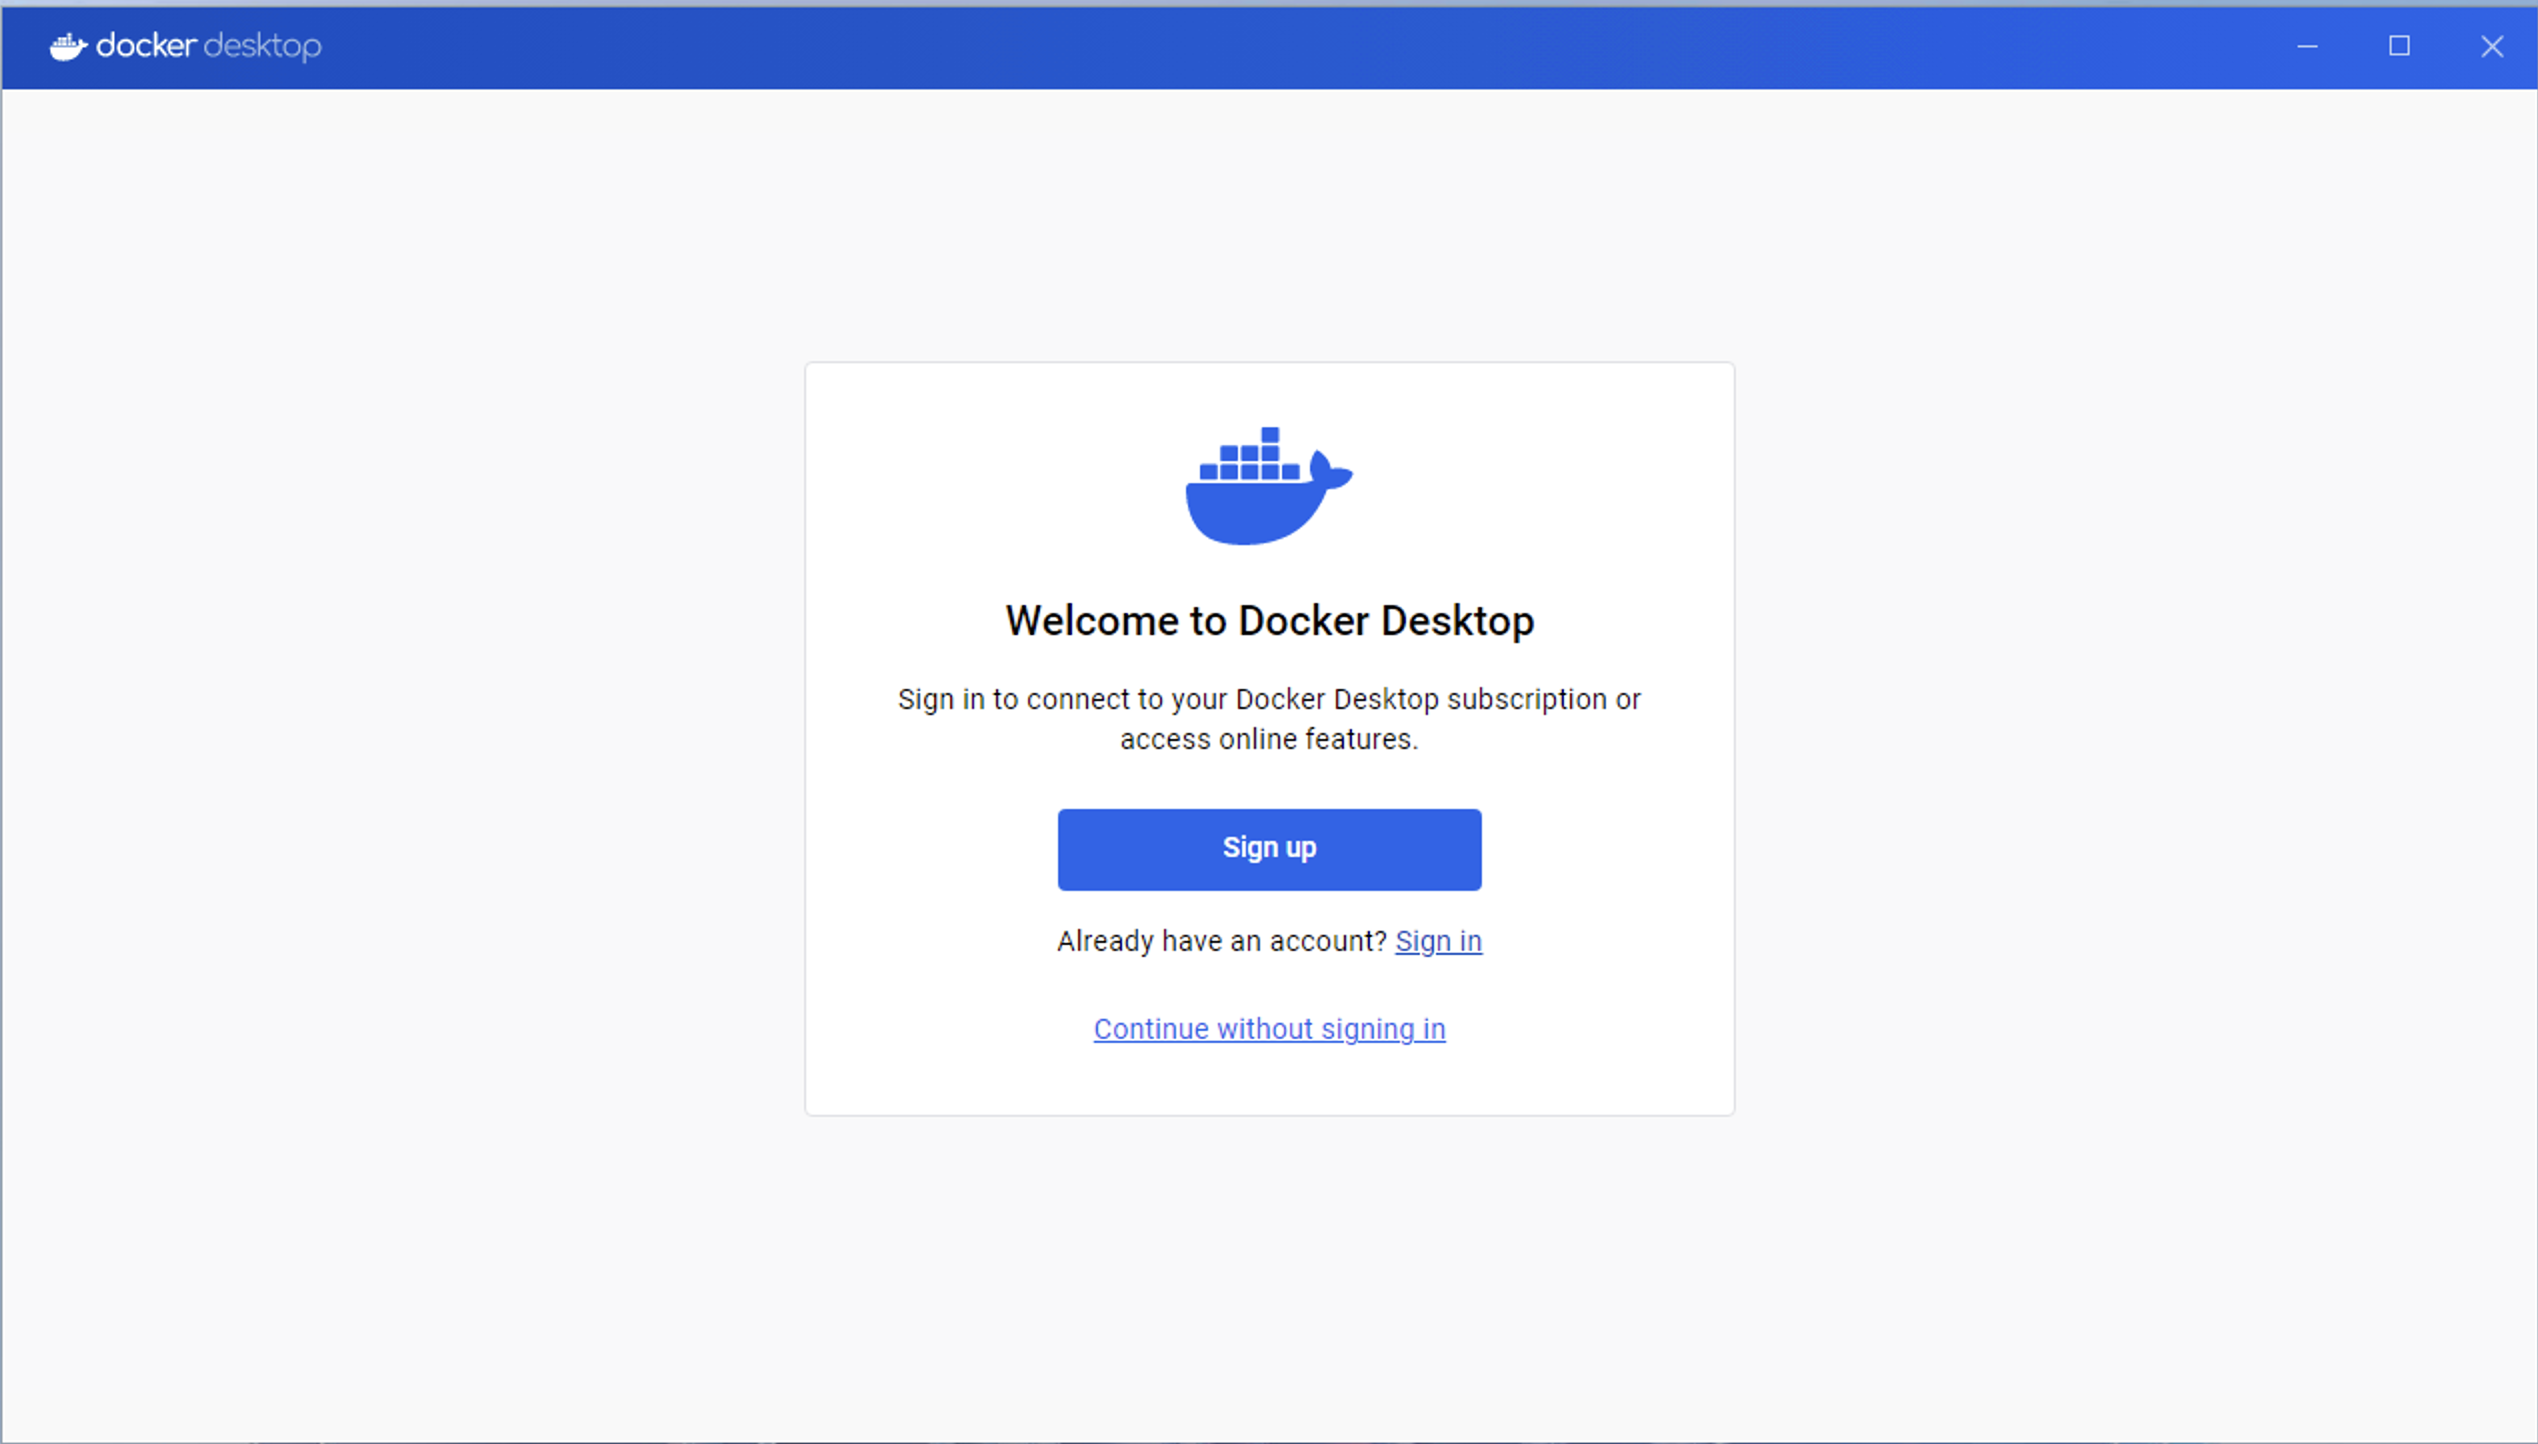
Unless something has gone terribly wrong, this should be pretty straightforward from here on out… Use something like Microsoft Remote Desktop to open your RDP file, enter your credentials, and connect to your instance. Double-click Docker Desktop to open – it will prompt you to accept the license agreement.
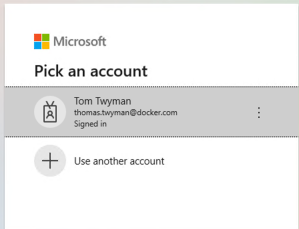
Once you click the link to “Sign In” to Docker Desktop, Windows may prompt you to authenticate with a Microsoft login – in my case I simply configured a local account, so my instance is not connected to Entra or any other IDP… I guess it needed to be sure I am really me!
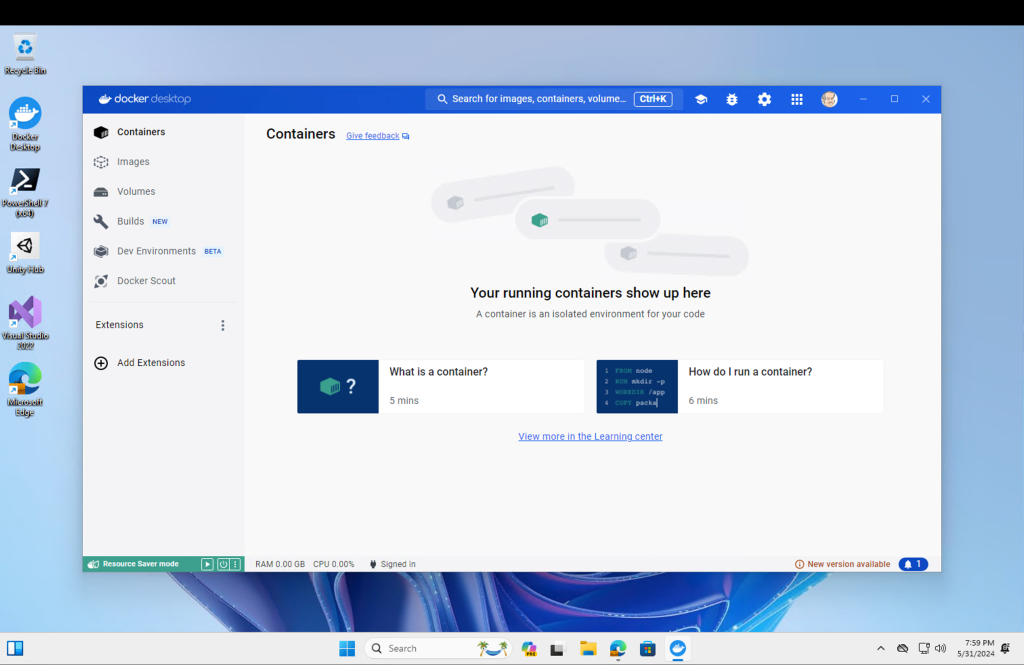
Once you have successfully authenticated to Docker Desktop – you are ready for your containers!
Running Containers
Dev Box is running using WSL, so you have the option to install all the necessary tooling to support your development efforts if they are not already installed. We can see that the only Linux distribution installed is the one that comes with Docker Desktop:

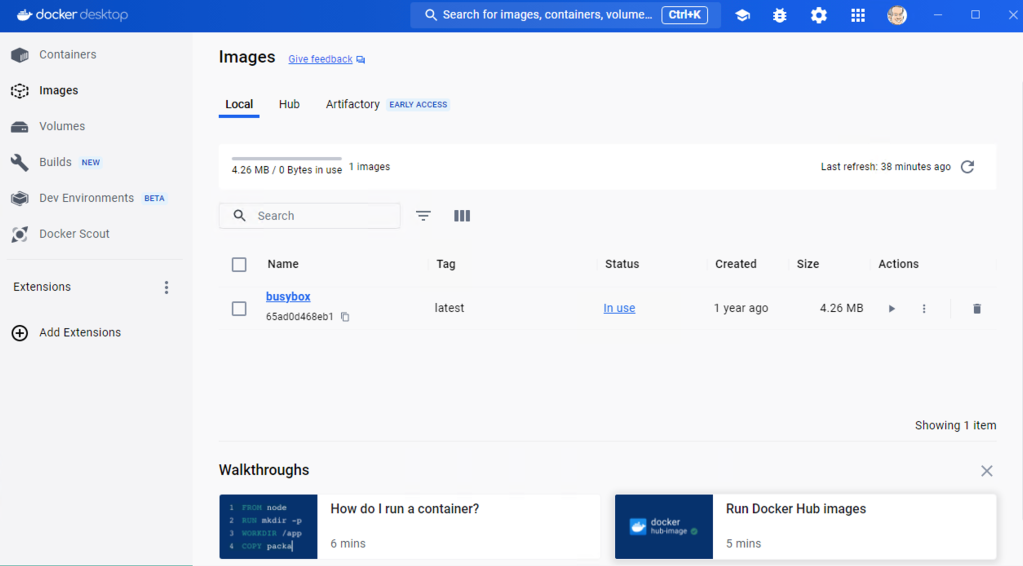
Pulling and running a container works exactly as it should:


And if you really want to, you can even install additional Linux distributions – I know there are plenty of security folks out there cringing right now at the idea of ‘unmanaged’ environments being introduced willy-nilly to such a development environment.

Microsoft continues to makes strides in this area, however. Just this week they announced that Microsoft Defender support for WSL 2 is now generally available! Furthermore, Intune now supports management of many settings around WSL2. Finally, later this summer Entra ID will soon begin to integrate directly with WSL2 – meaning soon you will be able to authenticate from within WSL using your Entra ID credentials for things like git. See the full announcement here.
All in all, this was much easier than I had anticipated – and I think that is the point, don’t you? Ready-to-go development environments, quick and easy to deploy for whatever project you might be working on. The real power of this solution is revealed when combined with other enterprise features of your organization’s Azure deployment – seamless authentication with Entra ID, corporate-wide governance and control through InTune, and direct, easy access to all your Azure assets and resources.
Happy computing!
